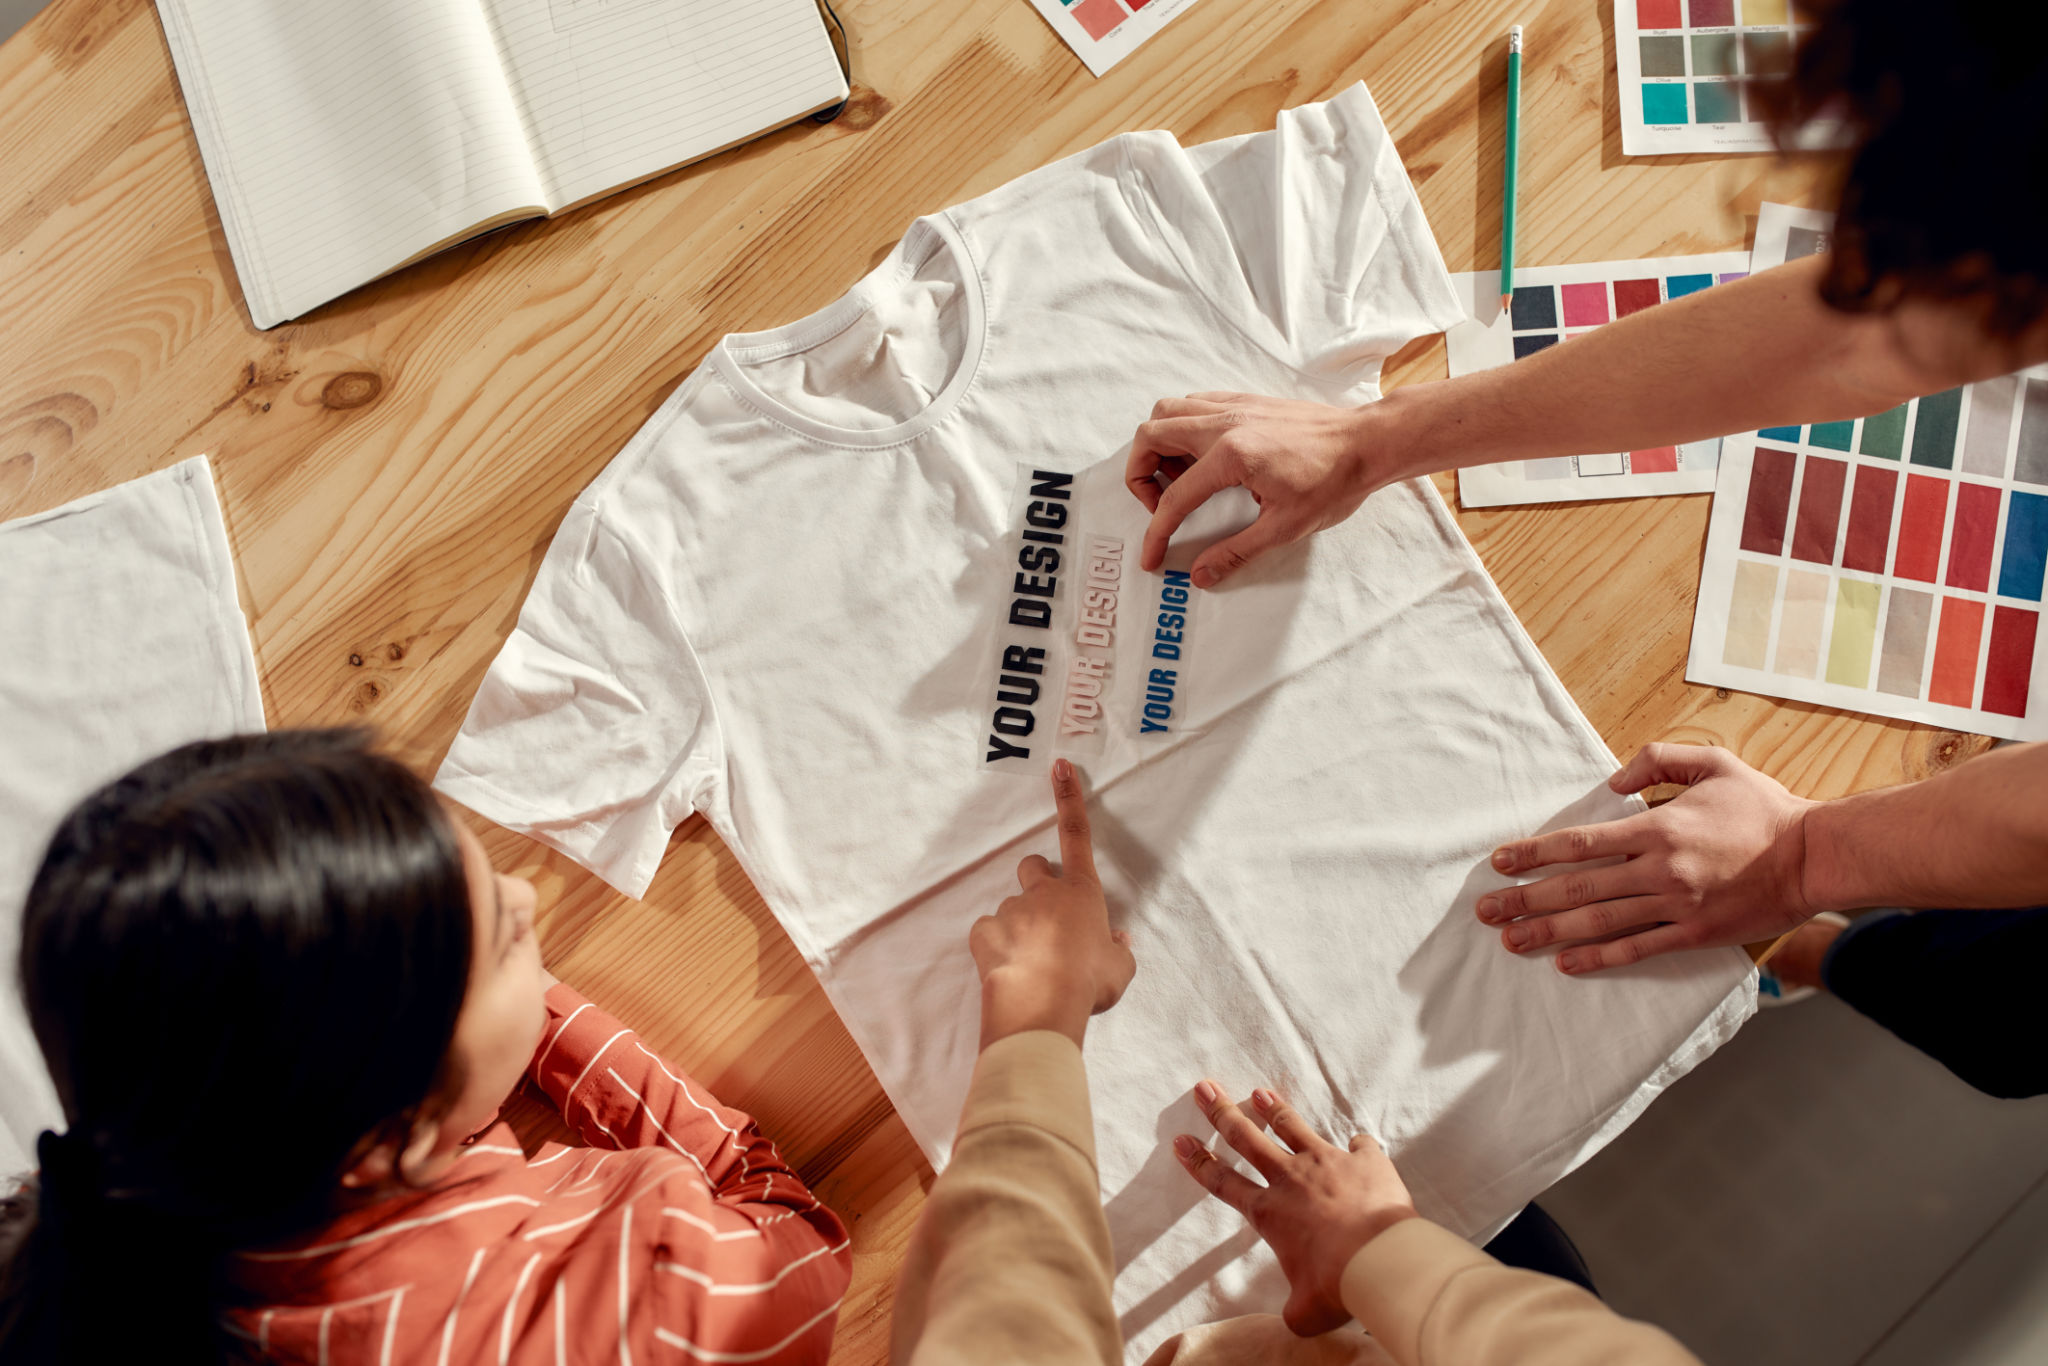
How to Personalize Designer Shirts in California: A Step-by-Step Guide
California is known for its vibrant fashion scene and creative spirit, making it the perfect place to explore the art of personalizing designer shirts. Whether you're a fashion enthusiast or a budding designer, personalizing your clothing can add a unique touch to your wardrobe. In this guide, we’ll walk you through the step-by-step process of customizing designer shirts to reflect your personal style.
Understanding Your Style
Before diving into the personalization process, it’s crucial to understand your personal style. Are you drawn to bold patterns, minimalist designs, or vintage aesthetics? Identifying your style will help you decide on the elements you want to incorporate into your designer shirts. Consider browsing through fashion magazines or online platforms for inspiration.
Choosing the Right Shirt
Once you have a clear idea of your style, the next step is selecting the right designer shirt as your canvas. Opt for high-quality materials that will withstand any personalization techniques you choose. Cotton, linen, and silk are popular choices due to their durability and ease of customization. Ensure the fit complements your body shape for the best results.

Selecting Customization Techniques
There are various techniques to personalize your designer shirts, each offering a distinct look and feel. Here are some popular methods:
- Embroidery: Add intricate patterns or monograms using colored threads.
- Screen Printing: Create bold graphics or logos with this versatile technique.
- Fabric Paint: Use fabric paint for hand-painted designs that showcase your artistic flair.
- Iron-on Patches: Attach patches to add texture and character.
Gathering Your Materials
Once you've chosen a technique, gather all necessary materials. For embroidery, you’ll need needles, threads, and an embroidery hoop. Screen printing requires screens, ink, and a squeegee. Fabric painting will need brushes and textile paint, while patches require an iron.

Creating Your Design
Sketch your design on paper before transferring it to the shirt. This step allows you to visualize the final product and make any necessary adjustments. If you’re not confident in your drawing skills, consider using design software to create digital mock-ups.
Applying Your Design
With your design ready, it's time to apply it to your shirt. Follow these general steps:
- Prepare the Shirt: Wash and iron it to remove any creases.
- Transfer the Design: Use transfer paper or freehand techniques to place your design on the fabric.
- Finalize the Design: Carefully apply your chosen technique, ensuring precision and attention to detail.

Caring for Your Personalized Shirt
After investing time and effort into personalizing your shirt, proper care is essential to maintain its quality. Always follow the care instructions specific to the materials and techniques used. Hand washing or using a gentle cycle in cold water can help preserve intricate designs and extend the life of your personalized piece.
Personalizing designer shirts in California can be a rewarding experience, allowing you to express your creativity and style. By following this guide, you'll be well on your way to crafting a unique wardrobe that stands out in any crowd.